Saturday 28 November 2009

Cookies - Warning, very addictive!

These cookies are sensational. No more, no less. You can whip up a batch in less than 10 minutes and have delicious cookies in no time. I've often usen them as a dessert, fresh out of the oven while they are still soft and chewy, with a dollop of vanilla ice cream on top and warm chocolate sauce poured over. But they do come with a warning, they are highly addictive and eating too many and you will end up with a tummy ache. But Christmas is around the corner and the diet doesn't start until January, so what are you waiting for. Go bake!
Ingredients:
150g of white sugar
150g of brown sugar (the sticky kind)
125g of half-melted butter
2 eggs
1 tbsp vanilla
1 tsp raising powder
340 g of flour
Optional:
Chunks of Chocolate (White & Dark)
Walnuts
Raisins
M&Ms


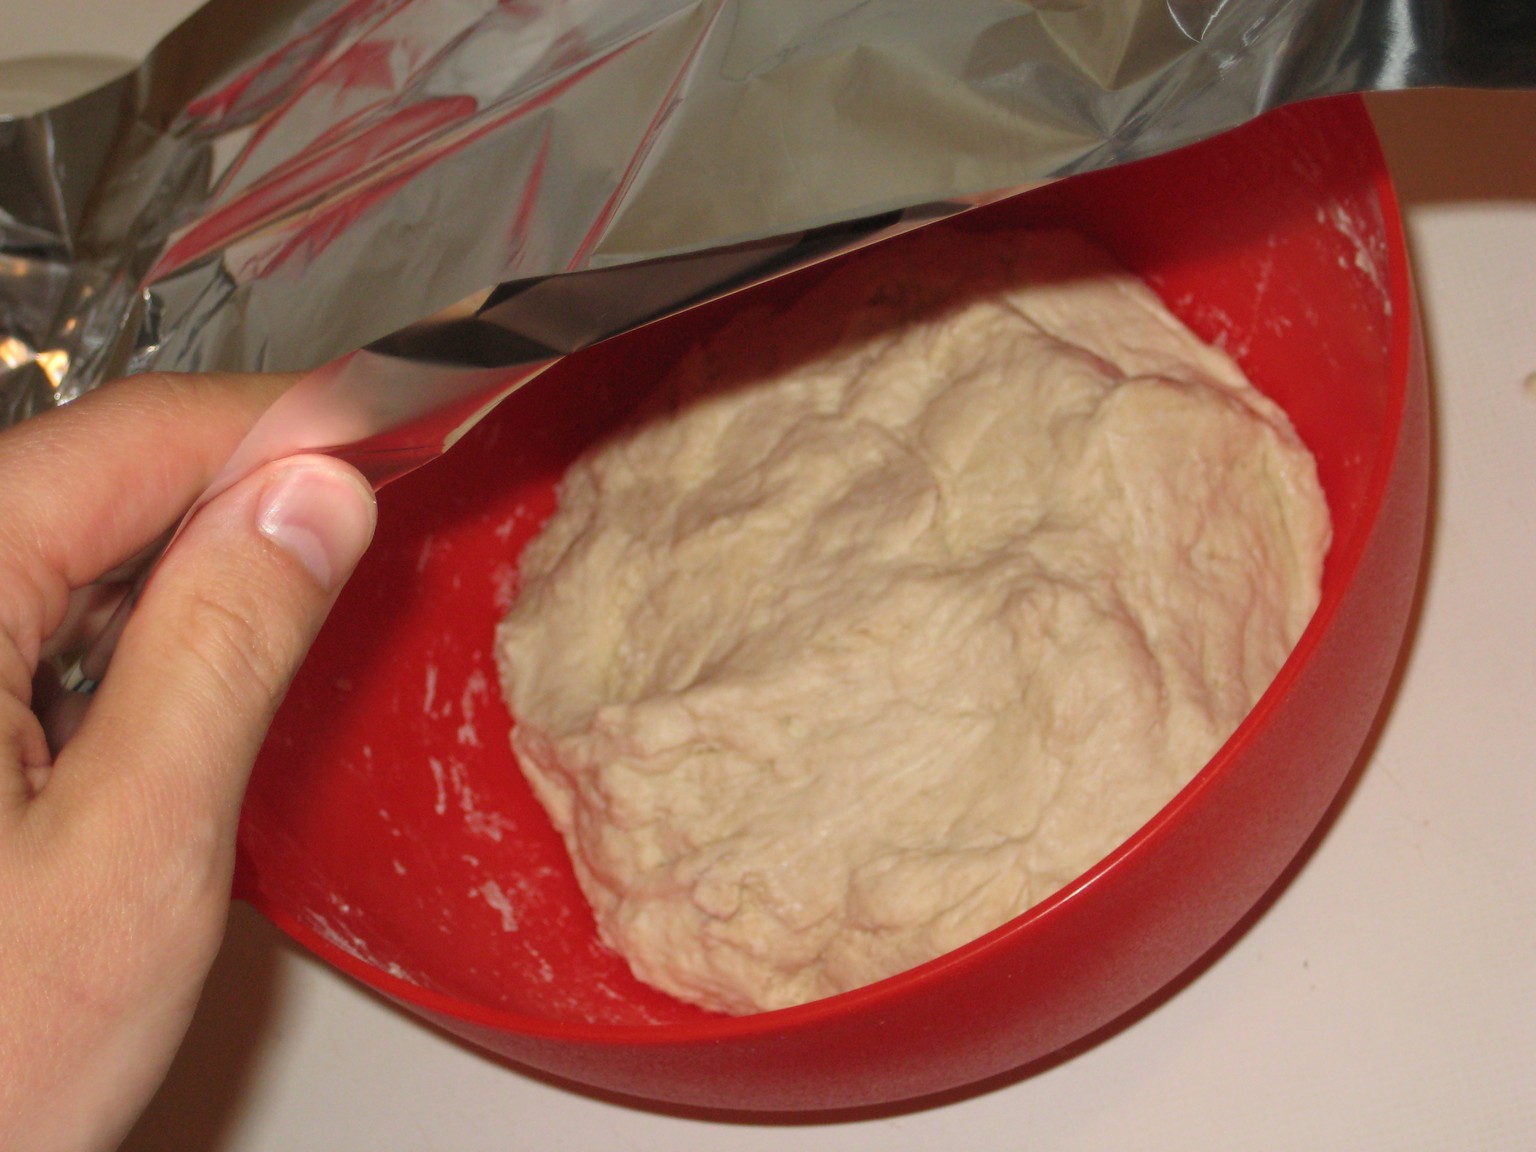
Add the butter to the two types of sugar. Mix it till you get a creamy consistency.

Add the eggs and whisk it white and creamy before adding the flour.

Mix the vanilla, raising powder with the flour and add it. When baking these, don't improvise on measures as it's all a rather exact science. This is build on years and years of trial and error. Just go with me on this one.

Use the dough hooks on your mixer.

This batch is mixed with dark and white chocolate and walnuts. Other suggestions are M&Ms or raisins. Place the dough on cling film. Roll it into a sausage and put it in the fridge for at least and hour. Or you could even make a big batch and keep them a couple of days, and then take them out. Cut a few and make freshly baked cookies.

Take the dough out of the fridge and slice it.

Place on baking paper and put in the oven at 180º for more or less 10 minutes.

They might look raw when you take them out, but you need to look for the lower part of the cookie to be slightly brown. Leave them too long and they'll go dry or even worse - burn.

Here you can see the brown base a bit clearer. Let cool completely before storing. Keep your fingers off them aswell ... if you can. At least for a few minutes anyway. The chocoloate and the sugar is HOT.

Sunday 22 November 2009

Roasted Duck

In Spain, where I live, ducks are pretty hard to come by, so when I found a frozen one in my Lidl supermarket, I thought, why not give it a try. In Denmark, where I was born, we always ate duck for Christmas and for a local holiday called Morten's aften ("The eve of St. Martin") which refers to a myth of Saint Morten of Denmark who out of humility didn't want to become a bishop. He hid amongst geese to avoid being found, but the trecherous little animals started making lots of noise and he was found after all. The first thing he decide as bishop was that everybody should butcher and eat a goose on the 11th of November. Today the duck has taken it's place on the dinner table in stead.
Here's my version of roasting the duck whole. It can be quite tricky as the temperature you need for making the meat tender and juicy is much lower than what you need for making the skin crispy. Many chefs prefers to cook it in parts, but when you are busy making all the traditional side dishes, such as red cabbage and caramelized potatoes (recipes to follow soon), it's easier just to leave it whole in the oven.
Ingredients:
1 duck, neck and wing tips removed (and reserved)
5l water
400 g salt
1-2 apples
1 bag of prunes
pepper
butter
Sauce:
Wing tips, neck, heart
1 carrot
1 onion
1 twig of rosemary
1 glass of red wine
chicken stock
some prunes
1/2 apple
spoonful of butter
spoonful of duck dripping
1 spoonful of flour

Stir the 400g of salt in the 5l of water until it's completely dissolved, submerge the duck in the brine for 6 hours. Throw away the brine, put the duck in fresh water to rinse for 1 hour, change the water evey 15 minutes. Leave the duck to dry completely for 24 hours covered in the fridge.

Remove excess fat from the area around the back.

Press down hard on the breast to crack the chest bone. This will make it flatter and ease the roasting and carving.

Cut the apple into smaller pieces, get a handful of prunes.

Sprinkle tem with pepper.This is easier than sprinkling pepper inside the bird.

Stuff the bird with the apples and prunes. You then need to close the bird a bit. I do this by making a few holes through which I pull a string to "sew" it. You can simply just tie the legs together as well.

Then you need to perforate the skin all over, with about a couple of centimetres between each pinch. Don't go through to the meat, this is only to give the fat (the skin is impermeable skin) a way to get out during cooking. This will help crispying up the skin.

Then sprinkle it with black pepper and baste it with some melted butter. The butte is used because the sugars in the butter will caramelise and turn the skin to a lovely dark brown colour. Put it in the oven on a grill above a roasting tray with a bit of water to collect the prippings. The oven needs to be pretty hot to start with to start roasting the skin. Set it at 240º. Give it 30 minutes with the breast side down.

Meanwhile for making the sauce, fry the wings,neck and heart with a carrot and a chopped onion. Add a twig of rosemary.

When everything has got some colour, add a glass of redwine and let it reduce to half. Then add chicken stock until everything is covered and leave to simmer while the duck roasts away. See later how to finish the sauce.

After the initial 30 minutes, turn the bird over and sprinkle the top (now the breast side) with coarse salt. Lower the temperature to 180ºC and leave it roasting slowly.

I'm basting here, but have just learnt that you shouldn't (Alton Brown on Google and Food Network Thanksgiving). So, don't! Use a meat thermometre to decide when the meat is done. When the thickest part of the breast or thigh reached 75º it's cooked. In my case it took about 2h 30m. If you want, you can add some extra apples and prunes into the roasting tray.

Leave the bird rest for 10-15 minutes while you finish off the sauce. Don't cover it, or the crispy skin will go soft. I forgot to take a picture of the sauce making, but basically I strained and reserved the fond from the fried wings and neck, melted a bit of butter with some duck fat drippings and then made a roux by frying a spoonful of butter in the fat. After a minute I added the fond and slowly warmed it up while stirring and then tasted for salt and pepper.

To cut the breast, cut down along the chest bone of the bird and around the the upper part of the thigh. The meat, if properly cooked, will come off by itself.

Here's the duck breast served with boiled potatoes, red cabbage and caramelized potatoes (recipes to follow soon).

Friday 20 November 2009

No-Knead Bread

Here's probably the simples thng you will ever make in your kitchen apart from throwing a frozen supermarket meal into the microwave. No-knead bread. I know, many people have made it before and there's nothing new in this recipe. It's the same old recipe from NY-Times. Except I have now made it so many times that I will just try once more to convince you to make it yourself. It's so easy that anyone can make it. No tricks apart from the chemistry of nature. But hey, don't worry about that, just make this simplest of breads. The idea is that instead of adding a lot of yeast and kneading the hell out of the dough to create long, strong glutens, adding just a tiny bit and then leaving it to a slow overnight rise will have pretty much the same, if not better result.
Ingredients:
1 l. of flour. You can mix in some whole grain if you like.
1 1/4 tsp of salt
1/4 tsp of yeast in any shape or form (I use dry yeast).
1/2 l. of luke warm water

Mix the flour with the yeast and salt.

Pour in the water. Make sure it's not too hot or it will kill the yeast.

Scrape it all together. It'll look like too wet at first, then it will get very dry. And then, voila! it'll be quite sticky and might seem a bit strange. But that's it. No-kneading! Normally the kneading is necesary to develope the gluten (stringy, elastic molecules that make the flour bind and is necesary for the formation of airbubbles when the bread rises). Here, time will develop the gluten for you.

Cover it with tinfoil. Leave it 16-18 hours! That's right. A long slow rise hence the small amount of yeast. Leave it at room temperature, not too hot though or it will rise too fast. If it's colder, leave to rise longer.

After 18 hours it's bubblely and slightly fermented. But just look at how stringy and glutonous it has become. Fold it with the spatula once or twice to deflate it a bit. This helps redistributing the airbubbles.

Here's a little trick I learnt from Chef John on foodwishes.com. Spray a bit of water on a kitchen table. Place a piece of cling film on top. The water stops the cling film from moving. Sprinkle plenty of flour on top and pour out you sticky dough. The flour will prevent the dough from clinging on to the cling film. Put some flour on your fingers and shape it as you like. I'm making a ciabatta. At other times I've used a heavy pot and cooked a round loaf in that.

Sprinkle more flour or corn flour on a baking tray. By lifting up the bread by the corners of the cling film, flip the bread over on the tray. Cover with a dry kitchen towel and leave to rise a further 2 hours and it'll look like this. It'll still be quite flat but fret not. Bake in 230º oven for 35-45 minutes.

Leave to cool off on a oven rack. Don't cut into it before it has cooled for at least 15 minutes. I know it's hard to wait, but trust me. Patience is the best ingredients.

Crunchy crust, perfect crumb. Go make a portion right now. You'll see how easy it is.

Tuesday 10 November 2009

Cocido Montañés - Cantabrian Mountain Stew

I've just come back from an extended weekend trip to the North of Spain. More specific to Potes, a tiny mountain village in the province of Cantabria. And while there, we went out for a nice meal to try out some of the local dishes. In a small family-run-restaurant we were served the loveliest of stews - Cocido Montañes, mountain stew - in a pot on the table, so everyone could help themselves serving as much as they liked. So the next day we went out looking for local products so I could share this experience with you. While you might not be able to find all the ingredients, you can just add as many as you like and improvise for the rest. Hope you give it a try.
Ingredients (8 people):
500 g white beans (left in water the night before)
2-3 tbsp of olive oil
Handful of Berza (Collard Greens, can be substituted for any type of cabbage)
A pig's ear (This is optional)
50g tocino (pork belly fat)
1 hueso de jamon (bone of cured ham)
300 g Costilla adobada (pork ribs rubbed in paprika and oregano and left overnight)
1 l of chicken or beef stock
300 ml water
4 chorizos (Spanish spicy sausage)
3-4 potatoes
2 carrots
Sofrito:
1 large onion
1 large carrot
1 tbsp tomato pure
2-3 cloves of garlic
1/2 tsp spicy paprika
1 tbsp mild paprika
1 tsp thyme
1 tbsp flour
1/2 glass white wine
1 glass of water
a good squirt of Port wine

Just to get you into the mood of this dish, here's a picture of Potes, the village we visited.

And my friend, Ben, and I buying some garlic at the farmer's market.

And my "harvest" of beans (L2R: pintas, lentejas, judiones de la granja. Top: alubia blanca)

And on to the dish itself: Leave the beans in water overnight.

On the day, start by cutting the stems off the berza. Reserve the leafs and chop up the stems finely. Fry the stems in the olive oil in a large pot or pressure cooker.

Add the pig's ear and tocino. Fry for a few minutes.

Add the hueso de jamon and ribs.

Get rid of the water from the beans and add them to the pot with the meat and pour over the stock and water until he beans are covered.

Pinch the skin of the chorizo saussages. Add them to the pot.

Bring to a boil and skim off the foam on top.

Cut the potatoes and carrots into smaller chunks. Add them to the stew.

Put the lid on the pot and let simmer for a couple of hours until the beans are cooked. If you have a pressure cooker, put the lid on and cook at mark 2 for 20 minutes, then turn off heat and let it de-pressurise slowly.

Meanwhile, make the sofrito by chopping the onion finely and shredding the carrot and sweat it slowly in a bit of olive oil with some salt.

When the onion and carrots are soft, add the tomato pure. Stir.

Add the crushed garlic. Fry for a few minutes.

Mix the spices (thyme, paprika, flour).

Pour it over the onion. Fry for a few minutes while stirring so it doesn't catch.

Then add the wine. Let it evaporate before adding the water.

Let it simmer slowly with the water. When it gets quite thick add the port wine.

Roll up the leafs of the berza into a "cigar" and cut them finely.

Cut up the chorizos in smaller chunks. Add the sofrito and the berza leafs to the stew. Heat it through for 5 minutes.

Serve while hot, or even better, leave it for next day. It only gets better as the days go by.